If you would like to give your map pack, mod or just change the quake experience visually you can update the 256 color palette. There are a few ways to do this, but I would like to talk about one very simple solution that I was unaware of until yesterday, QueenJazz’s QPal Master python script found here: https://github.com/jmickle66666666/qpal

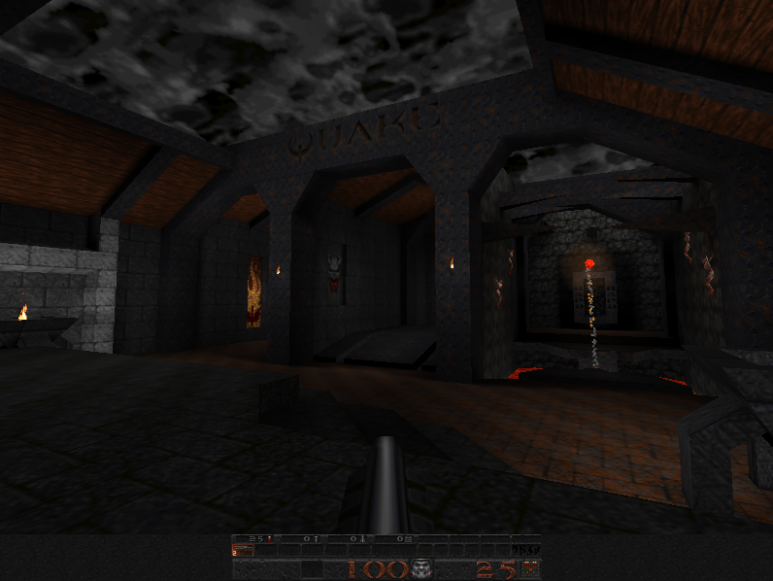
Quake Noir
After downloading the script I had to update my python installation which brought me to an issue running the script.

I didn’t have PIL installed on my system by default. So how do you get it installed? And PIL is an older library so how do you get a more up-to-date version that you can use for other projects? After a little research I found Pillow, an up-to-date version fork of PIL. So I wanted to install that module into Python first… but I couldn’t run PIP. So lets get started down this path…
First download the get-pip.py file from the stable release: https://pip.pypa.io/en/stable/installing/
Technically you can also just put the pip file into the python directory and run it from there using: “python get-pip.py”
The way I ran it in python was a little different. By default you can use IDLE by right clicking on the file. It should show the Python file icon if Python is installed on your system.

Once the file is loaded just run it in the menu or press F5

PIP will take some time to install. Once you have that installed open a CMD and navigate to the Python install directory (I opened the directory from the start menu icons then followed those links to the install directory). Once there run install Pillow.
python -m pip install Pillow
After installing Pillow you should now be able to run QPal-Master. Simply run the file in IDLE but unlike pip, use the “Run… Customized” option.

This will let you specify which file to read in… and this brings me to how this code actually works. There are two modes:
1. Create lmp file from png
2. Create png from lmp
If you specify a png file as the argument it will create a “palette.lmp” file that can then be added to the “gfx” directory in your mod or Quake id1 directory. (Override the existing. Back up the original, of course.) If you want to copy an existing lmp file and create a png file pass the lmp file in as the argument to run the script. It is pretty easy… but how do you modify the colors?
Open the palette.png file. It will look like this:

Each color is a pixel in the image and each represents the 256 color palette in quake. Backup this file first, then edit the colors. Just keep in mind changing the colors effects everything in the game: UI, enemies, weapons, and textures. So this isn’t recommended if all you are looking for is to change a few textures… update the textures. But if you want to modify the entire visual color experience of Quake this might be right up your alley.

Boosting green, blue and reds hue as well as saturation (left) VS simply increasing all of the color values slightly (right)
I had fun with this tool and hope to do something with it in the future or hope to see others do some cool things with it in the future.

